Sticky Business: Your Ultimate Guide To Jewelry Glue
When it comes to jewelry repair, there’s nothing more frustrating than watching your favorite piece break at the worst possible moment. But don’t sweat it—jewelry glue is here to save the day! Whether you’re dealing with a loose stone, a cracked bezel, or even a broken chain, the right adhesive can work wonders. And trust me, you’re not alone in this sticky situation. Millions of people worldwide turn to jewelry glue as their go-to solution for quick and effective repairs.
Now, before we dive deep into the world of jewelry glue, let’s address the elephant in the room: not all glues are created equal. Sure, you could grab any old adhesive from your toolbox, but that might do more harm than good. Jewelry requires precision, care, and the right materials to ensure your beloved pieces last as long as possible. This guide will walk you through everything you need to know about jewelry glue, from choosing the best product to mastering the art of application.
So, whether you’re a DIY enthusiast or just someone looking to fix a broken necklace without breaking the bank, stick around (pun intended). We’ve got all the tips, tricks, and expert advice you’ll need to make your jewelry repairs seamless and stress-free. Let’s get started!
Read also:Ashley Lipscomb Photography Capturing Lifes Most Beautiful Moments
Table of Contents
- What is Jewelry Glue?
- Types of Jewelry Glue
- Best Jewelry Glue Options
- How to Use Jewelry Glue
- Common Mistakes to Avoid
- Tips for Long-Lasting Results
- FAQ About Jewelry Glue
- Jewelry Glue Safety
- Alternatives to Jewelry Glue
- Conclusion
What is Jewelry Glue?
Alright, let’s break it down. Jewelry glue is basically a specialized adhesive designed specifically for repairing or assembling jewelry. Unlike regular household glue, jewelry glue is formulated to bond delicate materials like metal, glass, and gemstones without causing damage. It’s super strong yet gentle enough to handle intricate designs and precious materials.
But here’s the thing—jewelry glue isn’t just one-size-fits-all. There are different types of adhesives tailored to specific needs, whether you’re reattaching a loose earring back, securing a diamond in its setting, or repairing a broken bracelet. Knowing which type of glue works best for your situation can make all the difference between a successful repair and a total disaster.
So, how does jewelry glue work? Most jewelry glues create a chemical bond between surfaces, ensuring a secure attachment that can withstand daily wear and tear. Plus, many modern formulas are clear, waterproof, and resistant to heat, making them ideal for jewelry repair.
Types of Jewelry Glue
Epoxies: The Heavyweight Champion
Epoxies are like the superheroes of jewelry glue. They come in two parts—a resin and a hardener—that you mix together before applying. Once cured, epoxies form an incredibly strong bond that can handle even the toughest repairs. Think of them as the go-to option for fixing broken chains, clasps, or settings.
Crystal Clear Adhesives: For Gemstone Perfection
If you’re working with gemstones, you’ll want a crystal clear adhesive that won’t interfere with the beauty of your jewelry. These glues are designed to be invisible once dry, ensuring your stones look flawless. They’re perfect for reattaching loose stones or repairing chipped bezels.
Cyanoacrylates: Quick and Easy
Cyanoacrylates, or super glues, are great for quick fixes. They dry almost instantly and are ideal for small repairs like reattaching earring backs or securing jump rings. However, they’re not as durable as epoxies, so they’re better suited for temporary solutions.
Read also:Crisp And Green Wrap The Ultimate Healthy Snack Revolution
Best Jewelry Glue Options
With so many options on the market, it can be overwhelming to choose the right jewelry glue. Here’s a list of some top picks that have been tested and trusted by jewelry enthusiasts:
- G-S Hypo Cement: A favorite among professional jewelers, this adhesive is perfect for repairing delicate pieces.
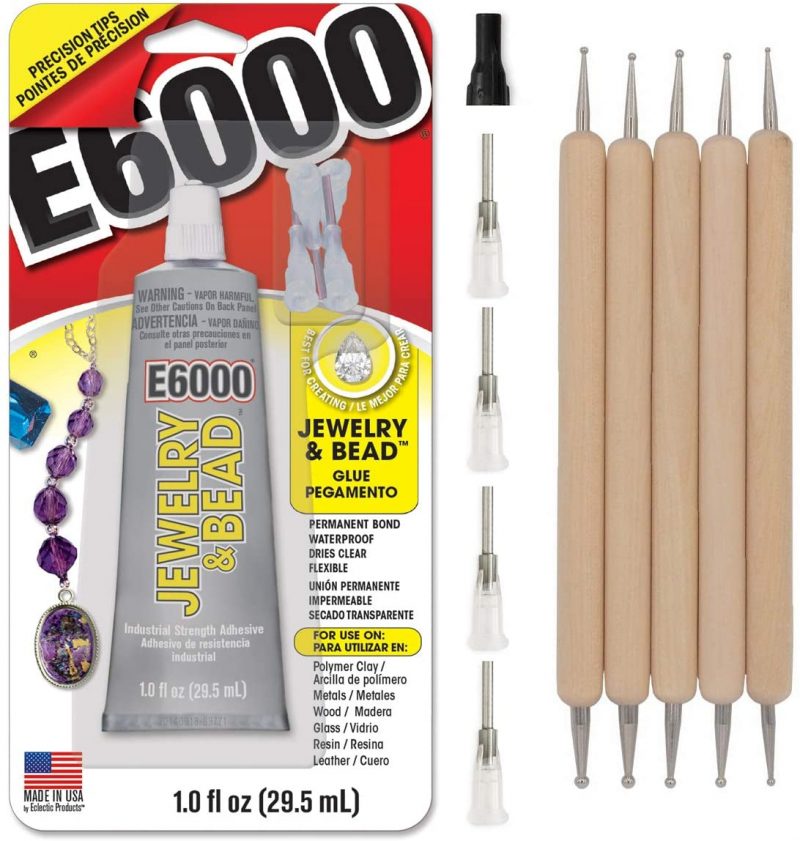
- E6000 Craft Adhesive: Known for its versatility, E6000 bonds almost any material and is ideal for heavy-duty repairs.
- Loctite Jewelry & Metal Adhesive: This glue is specifically designed for jewelry and offers a strong, long-lasting bond.
- Devcon 5-Minute Epoxy: For those tricky repairs, Devcon’s epoxy provides a robust solution that cures in minutes.
Remember, the best jewelry glue for you depends on the specific repair you’re tackling. Always read the label and follow the instructions carefully for optimal results.
How to Use Jewelry Glue
Step 1: Prepare Your Workspace
Before you start gluing, make sure your workspace is clean and well-lit. Gather all the necessary tools, including cotton swabs, tweezers, and a steady hand. Oh, and don’t forget to wear gloves to protect your skin from any potential irritation.
Step 2: Clean the Surface
A clean surface is key to a successful bond. Use rubbing alcohol or a gentle jewelry cleaner to remove any dirt, grease, or residue from the area you’ll be gluing. This step ensures the adhesive adheres properly and lasts longer.
Step 3: Apply the Glue
Apply a small amount of glue to one surface, being careful not to overdo it. Too much glue can seep out and ruin the appearance of your jewelry. Once applied, press the pieces together firmly and hold them in place for a few seconds.
Step 4: Let It Dry
Patience is a virtue when it comes to jewelry glue. Allow the adhesive to dry completely according to the manufacturer’s instructions. This could take anywhere from a few minutes to several hours, depending on the type of glue you’re using.
Common Mistakes to Avoid
Even the best-laid plans can go awry if you’re not careful. Here are some common mistakes to watch out for:
- Using Too Much Glue: More isn’t always better. Excess glue can ooze out and mar the appearance of your jewelry.
- Not Cleaning Properly: Dirt and grime can prevent the glue from bonding effectively, leading to a weak repair.
- Rushing the Process: Skipping steps or not letting the glue dry fully can result in a subpar repair that won’t last.
By avoiding these pitfalls, you’ll increase your chances of achieving a flawless repair every time.
Tips for Long-Lasting Results
Want your jewelry glue repair to stand the test of time? Here are some tips to help you achieve long-lasting results:
- Choose the Right Glue: Select a glue that’s specifically designed for jewelry repair to ensure a strong bond.
- Practice Precision: Take your time and apply the glue carefully to avoid mistakes.
- Store Properly: Keep your repaired jewelry away from extreme temperatures and moisture to prevent damage.
With a little care and attention, your jewelry can look as good as new for years to come.
FAQ About Jewelry Glue
Q: Can I use regular glue for jewelry repair?
Not recommended. Regular glue isn’t formulated for the delicate materials used in jewelry and may cause damage or discoloration.
Q: How long does jewelry glue last?
It depends on the type of glue and the repair. Some glues can last several years with proper care, while others may require reapplication after a few months.
Q: Is jewelry glue safe for all types of jewelry?
Most jewelry glues are safe for common materials like metal, glass, and gemstones. However, always check the label to ensure compatibility with your specific piece.
Jewelry Glue Safety
Safety should always be a priority when working with adhesives. Here are some safety tips to keep in mind:
- Ventilation: Work in a well-ventilated area to avoid inhaling fumes.
- Protective Gear: Wear gloves and safety glasses to protect your skin and eyes from exposure.
- Follow Instructions: Always read and follow the manufacturer’s instructions for safe and effective use.
By taking these precautions, you can ensure a safe and successful jewelry repair experience.
Alternatives to Jewelry Glue
While jewelry glue is a fantastic solution for many repairs, there are alternatives worth considering:
Jewelry Repair Kits
These kits often include tiny tools and replacement parts specifically designed for jewelry repair. They’re great for fixing broken clasps, chains, and other components.
Professional Services
For more complex repairs, it might be worth consulting a professional jeweler. They have the expertise and equipment to handle delicate or high-value pieces.
DIY Solutions
For minor repairs, you can try using clear nail polish or even a drop of clear varnish as a temporary fix. Just keep in mind these methods aren’t as durable as specialized jewelry glue.
Conclusion
And there you have it—the ultimate guide to jewelry glue. From understanding what jewelry glue is to mastering the art of application, we’ve covered everything you need to know to tackle your jewelry repairs with confidence.
Remember, choosing the right glue, preparing your workspace, and following proper techniques are key to achieving successful results. And if you ever feel unsure, don’t hesitate to seek professional help.
So, the next time your favorite piece of jewelry needs a little TLC, reach for that trusty tube of jewelry glue and get ready to shine. Don’t forget to share this guide with your friends and family, and let us know in the comments how your repair turned out. Happy gluing!

