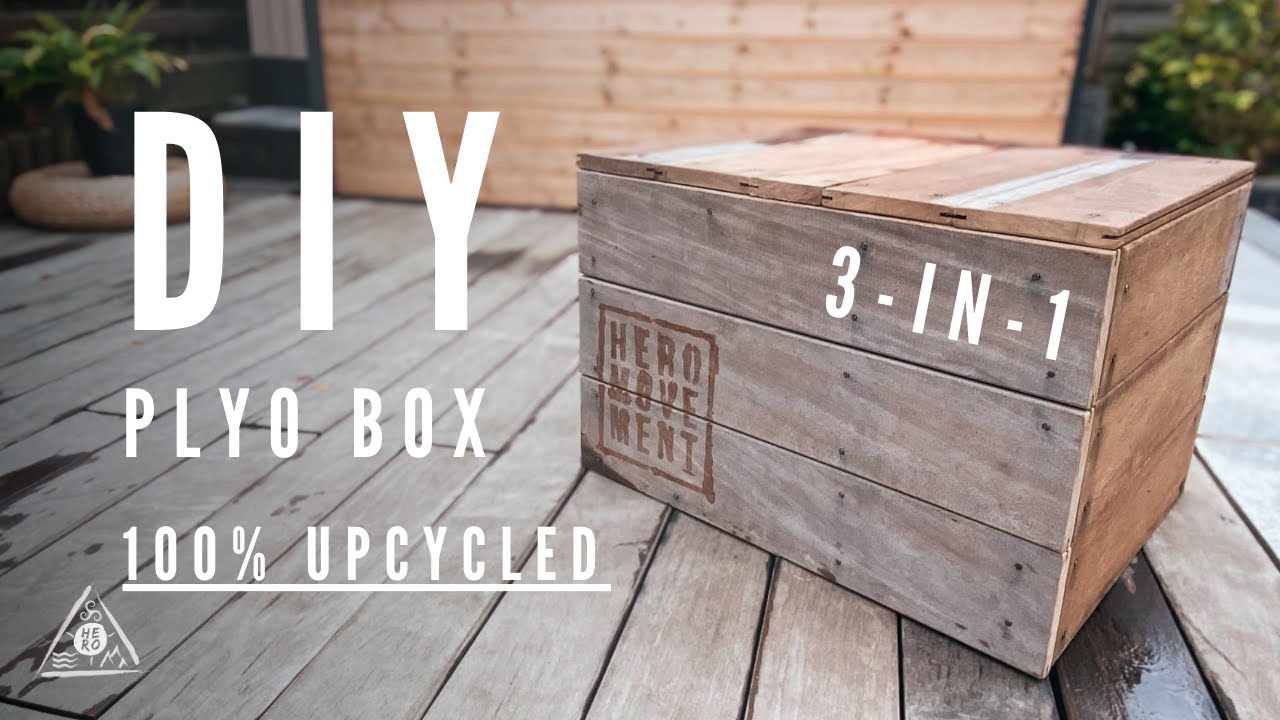
DIY Plyo Box: Your Ultimate Guide To Building A Jump Box At Home
Have you ever wondered how professional athletes train their explosive power? Well, one of the secret weapons in their arsenal is the plyometric box—or as we like to call it, the plyo box. But guess what? You don’t need to spend a fortune on gym equipment. With a little creativity and some basic tools, you can build your own DIY plyo box at home. Let’s dive into the world of homemade fitness gear and see how it can revolutionize your workouts!
Building your own plyo box might sound intimidating, but trust me, it’s not rocket science. In fact, it’s a fun project that combines physical activity with a bit of craftsmanship. Whether you’re a fitness enthusiast or just looking to spice up your home workouts, this guide will show you how to create a sturdy, safe, and cost-effective plyo box that fits your needs.
Before we jump into the nitty-gritty details, let’s talk about why a DIY plyo box is worth your time. Plyometric exercises are all about explosive power, agility, and strength. And having a reliable plyo box at home means you can train anytime, anywhere—without breaking the bank. So, are you ready to take your fitness game to the next level? Let’s get started!
Read also:Unleashing The Power Of Hiit Classes Near Me At Revel Fit Club
What Is a Plyo Box and Why Should You Care?
A plyo box, in its simplest form, is a platform used for plyometric exercises. These exercises focus on explosive movements, helping athletes improve their speed, power, and overall athletic performance. Plyometric training has been around for decades, and it’s still one of the most effective ways to build strength and endurance.
But why should you care about a plyo box? Well, here’s the deal: traditional gym memberships can be expensive, and commercial plyo boxes aren’t exactly cheap. By building your own, you save money while customizing the height and size to suit your specific needs. Plus, there’s a certain satisfaction that comes with crafting your own fitness equipment—it’s like creating a piece of art that doubles as a workout buddy.
Benefits of a DIY Plyo Box
Let’s break down the advantages of going the DIY route:
- Cost-Effective: Buying a commercial plyo box can set you back hundreds of dollars. With a DIY approach, you can build one for a fraction of the cost.
- Customization: Need a taller box for advanced jumps? Or maybe you prefer a shorter one for beginners? A DIY plyo box allows you to tailor the design to your specific fitness goals.
- Safety: When you build your own, you can ensure the materials and construction meet your safety standards. No more worrying about unstable or poorly made gym equipment.
- Portability: A homemade plyo box can be designed to be lightweight and easy to move around, making it perfect for small home gyms or outdoor workouts.
And let’s not forget the environmental benefits. By repurposing materials and avoiding mass-produced equipment, you’re doing your part to reduce waste and promote sustainability. It’s a win-win situation!
Choosing the Right Materials for Your Plyo Box
When it comes to building a DIY plyo box, the materials you choose are crucial. You want something that’s sturdy, durable, and safe to use. Here are some options to consider:
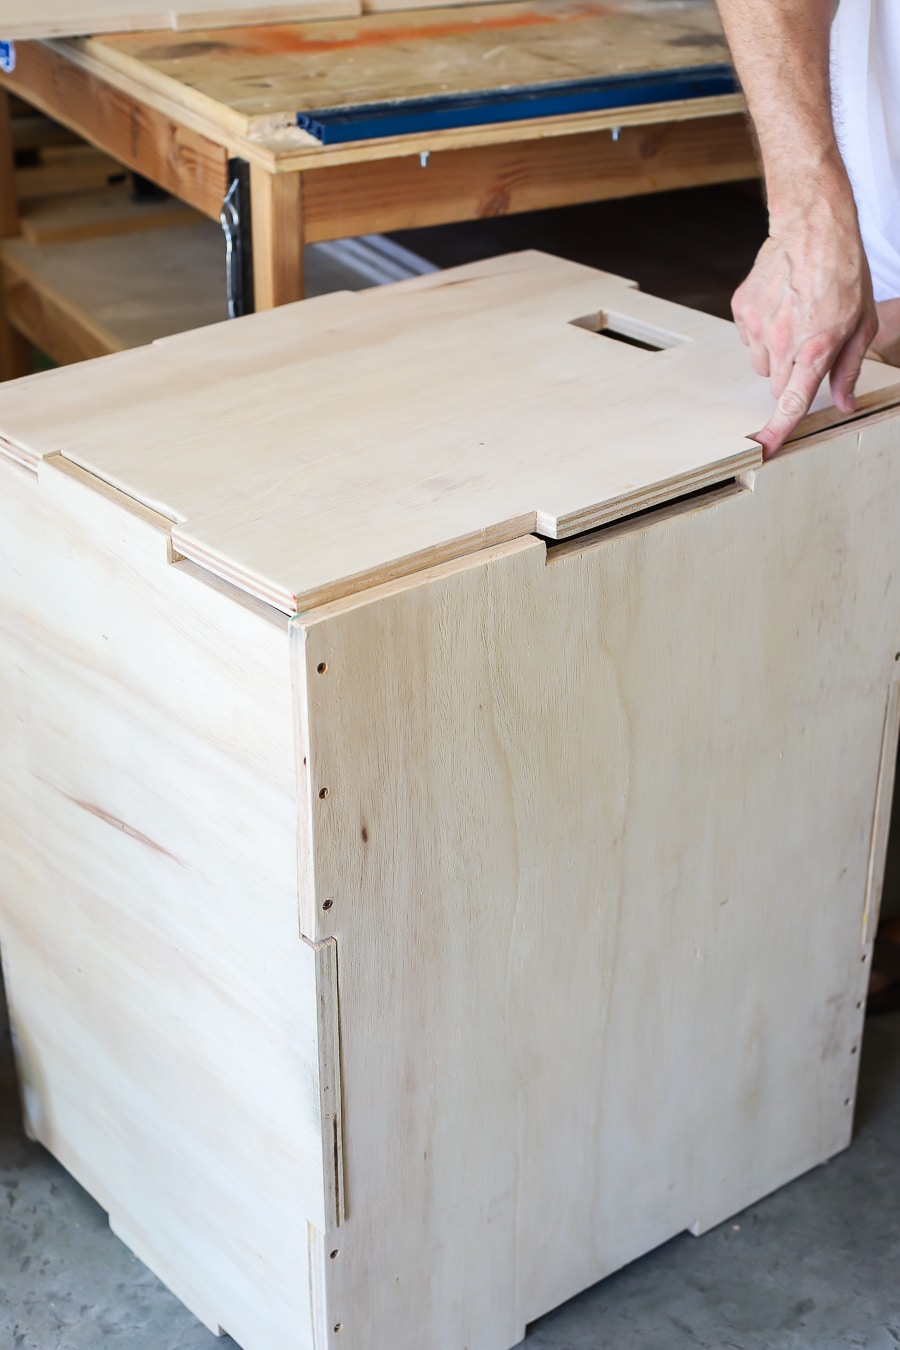
Wooden Plyo Boxes
Wood is the most popular material for homemade plyo boxes, and for good reason. It’s readily available, easy to work with, and provides a solid base for your jumps. Plus, it gives your box a natural, rustic look that complements any home gym setup.
Read also:44 Label Group Djs The Ultimate Guide To The Scene You Cant Ignore
For the best results, opt for pressure-treated wood or plywood. These materials are resistant to moisture and can withstand the wear and tear of regular use. Just make sure to sand down any rough edges to prevent splinters.
Metal Frames
If you’re looking for something a bit more industrial, consider using metal for your plyo box frame. Metal is incredibly strong and can support heavier weights, making it ideal for advanced athletes. However, it’s also more challenging to work with and may require welding skills or specialized tools.
Another option is to combine wood and metal. Use metal for the frame and wood for the top surface. This hybrid approach offers the best of both worlds—strength and stability with a comfortable landing surface.
Recycled Materials
Feeling eco-conscious? Why not repurpose old materials for your DIY plyo box? Items like pallets, cinder blocks, or even sturdy cardboard boxes can be transformed into functional fitness equipment. Just make sure to reinforce them properly to ensure safety.
Pro tip: If you’re using recycled materials, give your plyo box a fresh coat of paint to make it look brand new. It’s a great way to add a personal touch to your project.
Tools You’ll Need for the Job
Now that you’ve got your materials sorted, it’s time to gather your tools. Here’s a list of essentials you’ll need to build your DIY plyo box:
- Saw (hand saw or circular saw)
- Drill
- Screwdriver
- Screws or nails
- Sandpaper
- Measuring tape
- Level
- Paint or sealant (optional)
Don’t worry if you don’t have all these tools lying around. Most hardware stores offer tool rentals, so you can get exactly what you need without spending a fortune. And if you’re new to DIY projects, don’t be afraid to ask for advice from the staff—they’re usually happy to help!
Step-by-Step Guide to Building Your Plyo Box
Ready to get your hands dirty? Follow these simple steps to build your very own DIY plyo box:
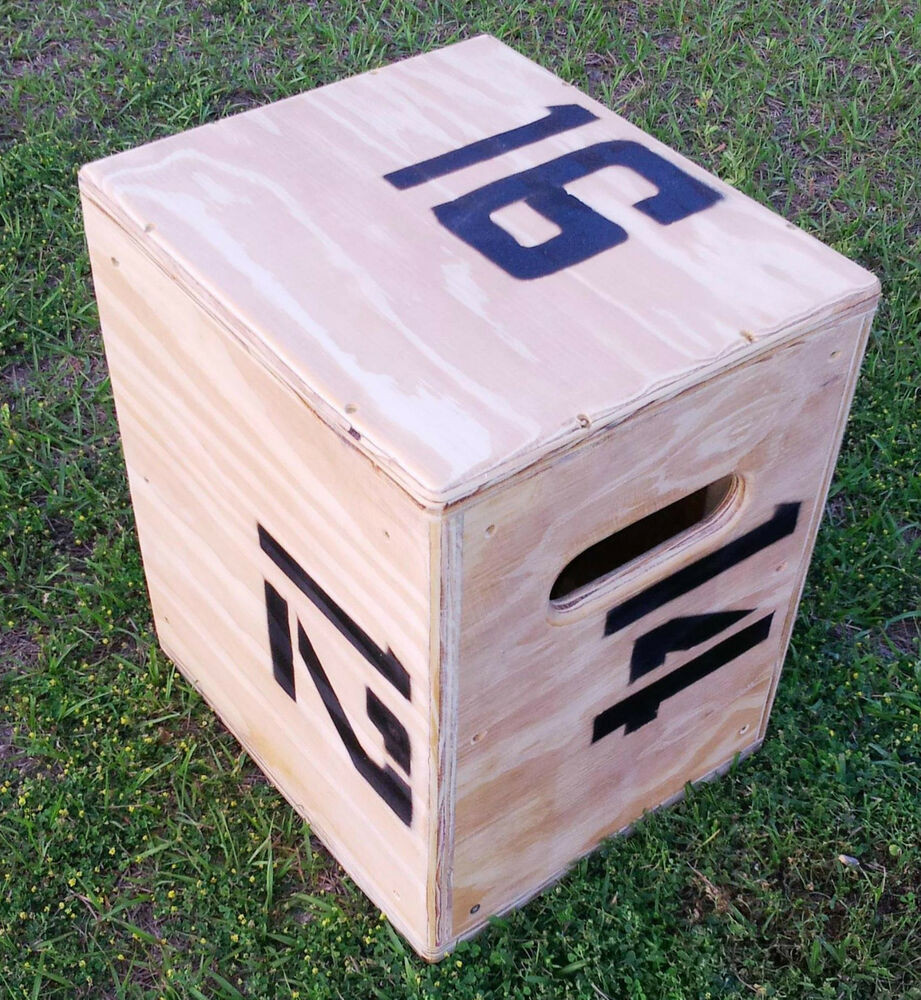
Step 1: Measure and Plan
Before you start cutting wood, take a moment to plan out your design. Decide on the height and width of your box, keeping in mind your fitness goals and skill level. A good starting point is a 12-inch box for beginners, 18-24 inches for intermediate users, and 30+ inches for advanced athletes.
Step 2: Cut Your Materials
Using your saw, carefully cut the wood or other materials to the desired dimensions. Double-check your measurements to ensure everything fits together perfectly. Precision is key here, so take your time.
Step 3: Assemble the Frame
Once your pieces are cut, it’s time to assemble the frame. Use screws or nails to secure the sides and bottom of the box. Make sure everything is level and sturdy before moving on to the next step.
Step 4: Add the Top Surface
Attach the top piece of wood to the frame, ensuring it’s flush with the edges. Sand down any rough spots to create a smooth landing surface. You can also add padding or rubber mats for extra cushioning if you prefer.
Step 5: Finish and Protect
To prolong the life of your plyo box, consider applying a coat of paint or sealant. This will protect the wood from moisture and wear, keeping your box looking great for years to come.
And there you have it—a fully functional DIY plyo box ready for action! Wasn’t that easier than you thought?
Safety Tips for Using Your DIY Plyo Box
Now that your plyo box is built, it’s important to use it safely. Here are some tips to keep in mind:
- Warm up properly before starting your workout.
- Start with lower heights and gradually increase as your confidence and strength improve.
- Land softly on the balls of your feet to absorb impact.
- Always keep your core engaged for stability.
- Listen to your body—if something feels off, stop and rest.
Remember, safety should always come first. A well-built plyo box can enhance your workouts, but proper technique is just as important. Don’t hesitate to consult a fitness professional if you’re unsure about your form.
Common Mistakes to Avoid
Building a DIY plyo box might seem straightforward, but there are a few pitfalls to watch out for. Here are some common mistakes and how to avoid them:
- Using Inferior Materials: Cheap or poorly constructed materials can compromise the safety of your box. Stick with high-quality wood or metal for the best results.
- Ignoring Safety Features: Don’t skip the sanding or padding steps. A rough or hard surface can lead to injuries during intense workouts.
- Overcomplicating the Design: Keep it simple and functional. A basic box design is usually all you need for effective plyometric training.
By avoiding these common mistakes, you’ll end up with a plyo box that’s not only safe but also highly effective for your workouts.
Incorporating Plyometric Exercises into Your Routine
Now that you’ve built your DIY plyo box, it’s time to put it to use. Here are some plyometric exercises you can try:
- Box Jumps: Stand in front of the box and jump onto it with both feet. Step down gently and repeat.
- Lateral Box Jumps: Jump sideways onto the box, landing with both feet. Step down and repeat on the other side.
- Single-Leg Box Jumps: Jump onto the box using one leg, alternating legs with each repetition.
- Depth Jumps: Stand on the box, step off, and immediately jump as high as you can upon landing.
These exercises are just the tip of the iceberg. Get creative and mix things up to keep your workouts engaging and challenging.
Conclusion: Take Your Fitness Journey to the Next Level
In conclusion, building a DIY plyo box is an excellent way to enhance your home workouts without breaking the bank. With the right materials, tools, and safety precautions, you can create a piece of equipment that’s both functional and personalized to your needs.
So, what are you waiting for? Grab your tools, gather your materials, and start building your ultimate fitness companion. And when you’re done, don’t forget to share your creation with the world. Who knows? You might inspire others to take on their own DIY projects.
Until next time, keep pushing your limits and stay active. Your body—and your wallet—will thank you!
Table of Contents
- What Is a Plyo Box and Why Should You Care?
- Benefits of a DIY Plyo Box
- Choosing the Right Materials for Your Plyo Box
- Tools You’ll Need for the Job
- Step-by-Step Guide to Building Your Plyo Box
- Safety Tips for Using Your DIY Plyo Box
- Common Mistakes to Avoid
- Incorporating Plyometric Exercises into Your Routine
- Conclusion: Take Your Fitness Journey to the Next Level
